Visual Testing
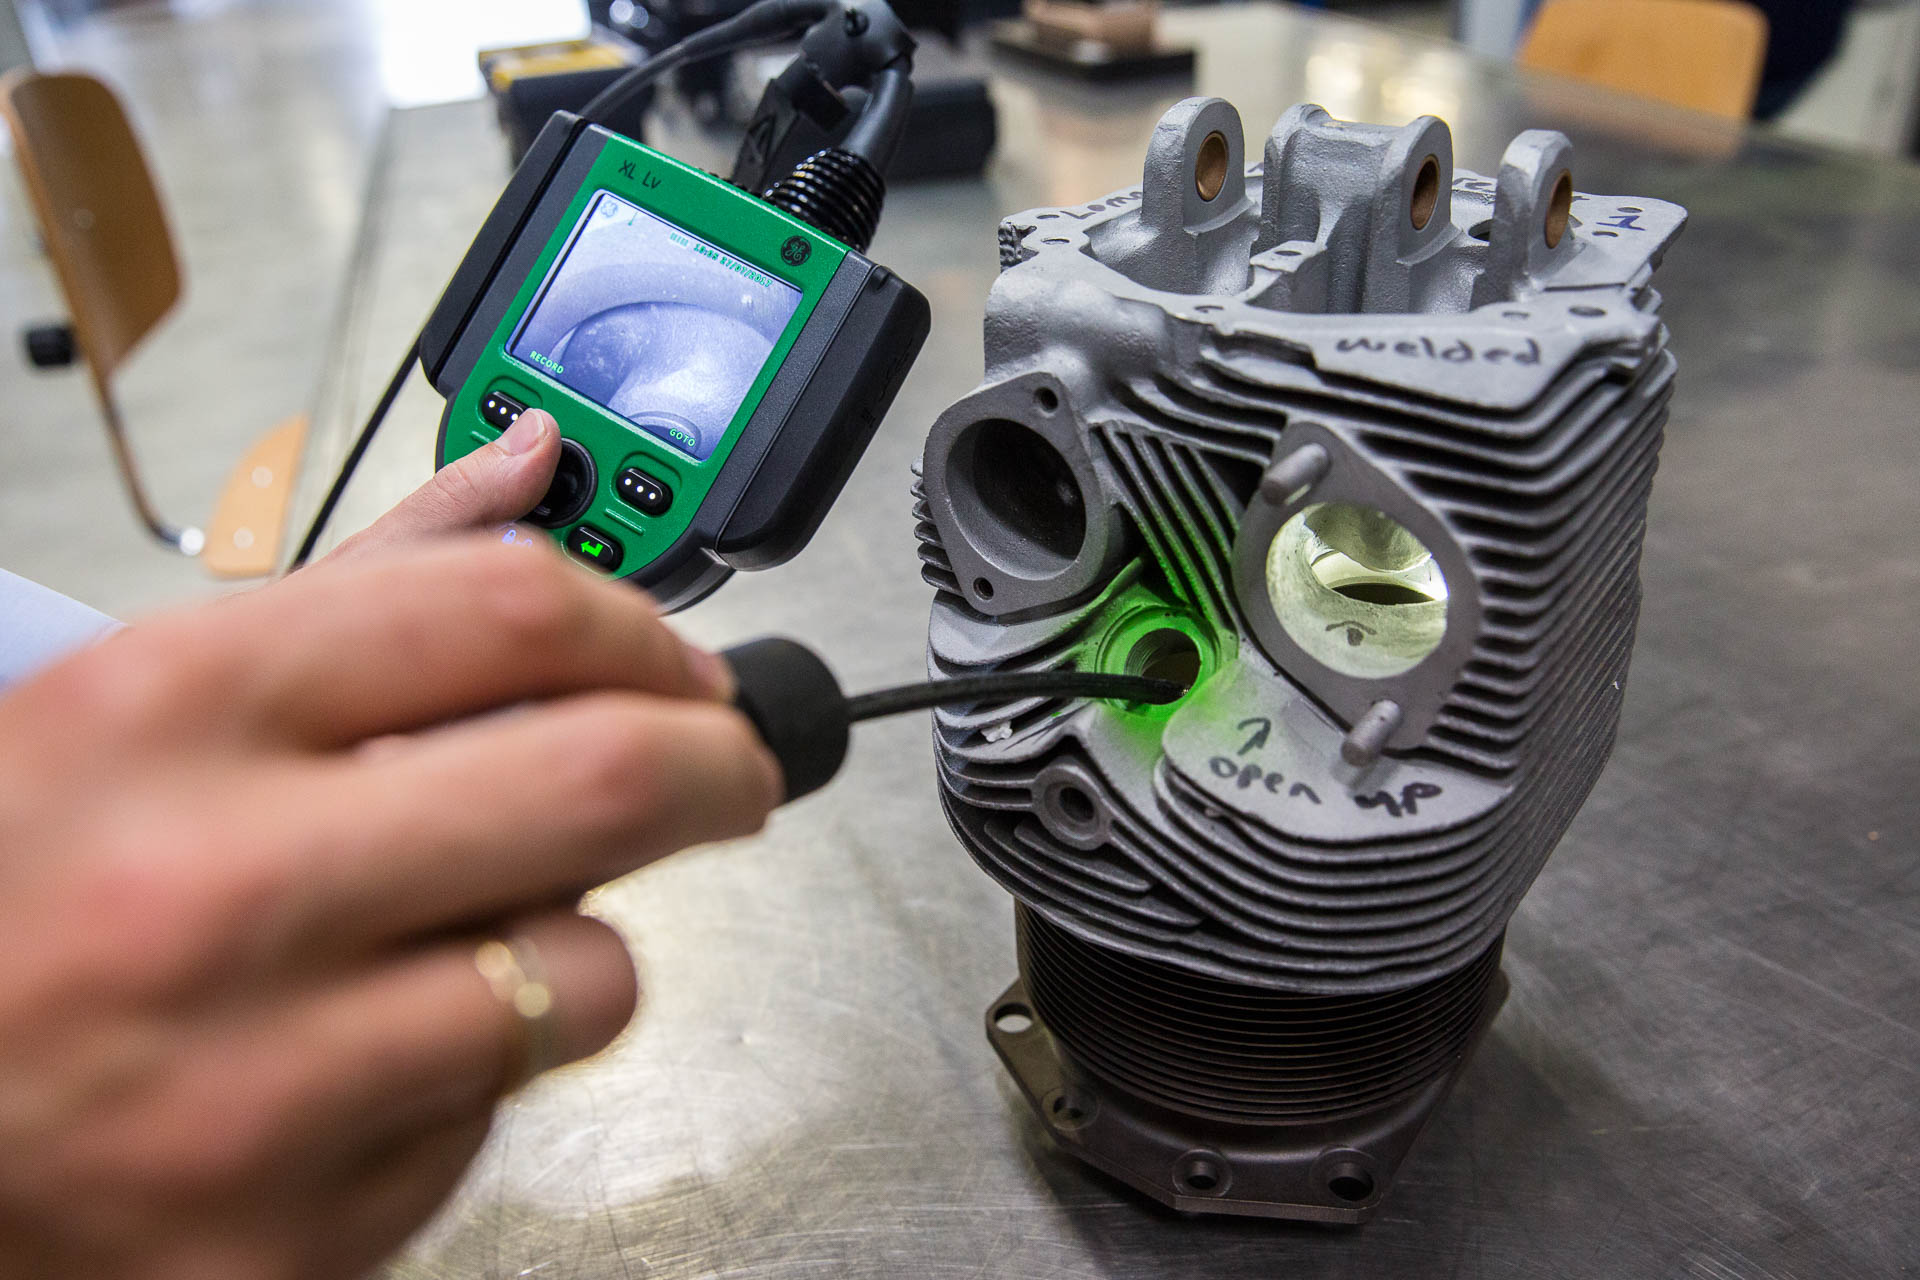
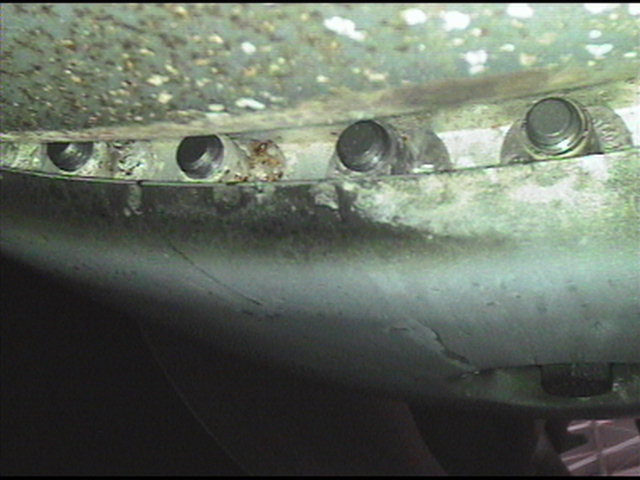
Visual testing (VT) is an NDO method in which the researcher, with or without the use of tools/borescope, performs a test by looking at the part. Visual tests can be used to find visible abnormalities, such as surface defects, dimensional abnormalities, internal abnormalities (borescope) and/or corrosion.
Before starting the test, the surface must be cleaned: grease, dirt and paint should be removed.

Visual testing can be done at various distances relative to the object. If we look at the object from a greater distance, we call this a general impression (review) and this gives a different result from a detailed study at a distance of less than 60 cm.
In addition, there is the possibility to perform internal testing with a borescope.
For the visual assessment of constructions, components, components and welding connections, various tools can be used, such as measuring tools, loops, welding valves and/or additional lighting.
If the inspector has detailed knowledge of the object, knows the manufacturing process and/or is familiar with the conditions of use, this will have a positive effect on the visual test.
Surface testing of objects made of all possible materials.

When visually testing objects, we mainly search for the following deviations:
- General corrosion and well corrosion (pitting)
- Engine inspection
- Geometry and/or dimensions of object
Scope:
Testing has a large application area, but is often applied to the following products:
- Semi-finished products, such as staff and plate material, profiles and tubes;
- Casting or forgings, such as pump housings, gears and bolts;
- Checking pipes and tubes for corrosion;
Highly strained aircraft components, such as turbine blades, by means of borescope testing;
The inspectors are trained according to the EN4179.
Tests may take place in accordance with all applicable standards and requirements of the principals and ASTM-E-1444.

